My Mk II mash tun seemed like an ideal candidate for a steeping and germination vessel. It's made of a home brew bucket with holes drilled in the bottom inside another one with a tap at the bottom.

Here's the inside:

I decided to start with an overnight steep.


Draining it for the first air rest:

Air rest until the afternoon then the second steep:

And then drained again at night:

After two steeps and air rests it was ready for germination:

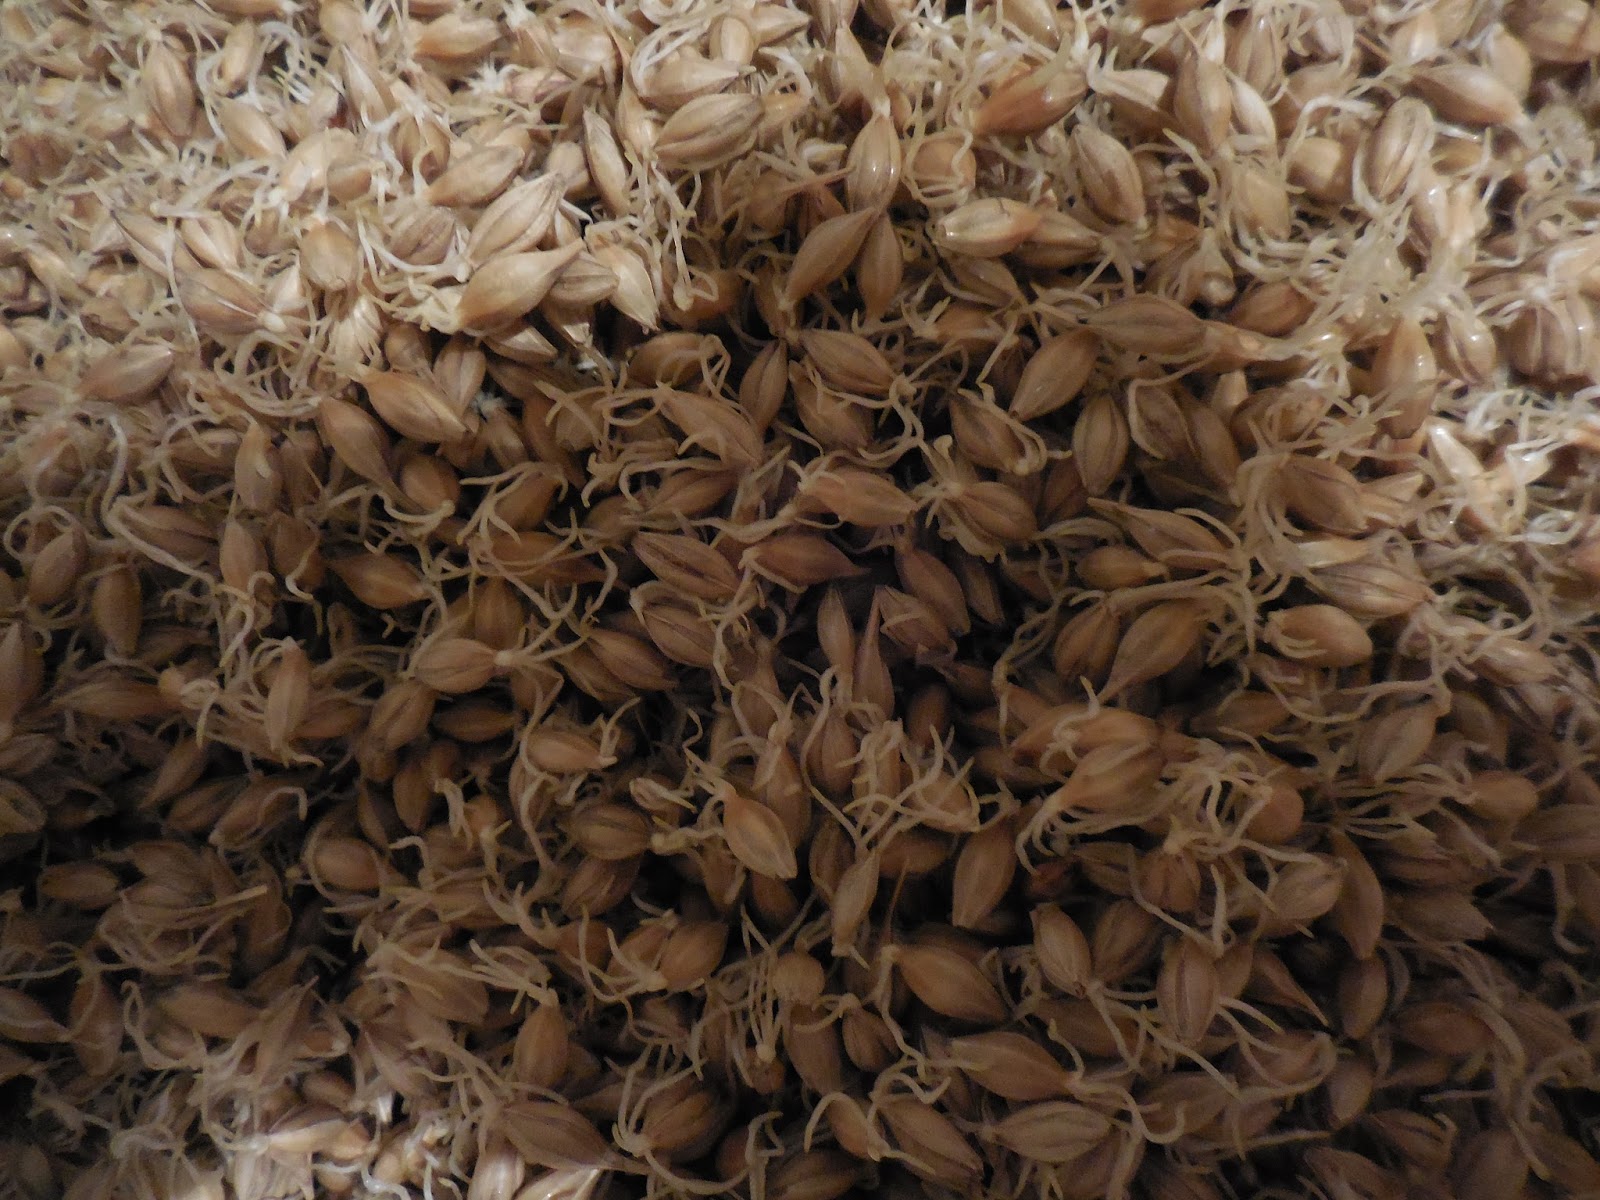
Chitted grains:
 |
| See the tips of the rootlets poking out |
The rootlets start growing very quickly:
 |
| day 3 |
 |
| day 4 |
 |
| day 5 |
 |
| day 6 |

I'd had a clump in the middle that hadn't mixed and the grains had got a lot hotter and grown a lot more. Fortunately most of them were like this:

I decided to include a withering stage, letting them partially dry on the floor.

That a few grains had bolted showed that the germination process needs tweaking a bit but nothing too major. My real problems started with the kilning. Keeping the malt on a tray meant I could only put a small amount at a time in the oven. I left the rest on the floor to wither more, but it was a long and involved process to get it all kilned, and even then the moisture content was still high at just over 8%. Initially I heated with the oven at a very low setting to remove as much water as possible before cranking up to over 100°C for the final kilning.
I did even worse with removing the rootlets and in the end admitted defeat. I tried shaking the grains in a colander but as well as the roots falling through the holes quite a few grains did too. I could only do a very small amount of grains at a time too, so rather than spend hours doing it I gave in and used the machine at work. Who'd have though that one of the first tasks of a post-apocalyptic society will be to build a deculming machine?
Tune in for the next episode to see if I'll be happily sipping a pint as the zombie hordes hammer at my door or if the brewing all went horribly wrong.
Vital survival skills! Now to persuade the wife that barley is a perfectly fine thing to grow in our garden.
ReplyDeleteStarting from barley would be even better preparation for the zombie apocalypse but must be a huge effort.
DeleteCheck out brewingbeerthehardway.wordpress.com - he does this, stepped up from a similar set up and has some tips for removing rootlets.
ReplyDeleteThanks for the link! I see some people are way ahead of me...
DeleteAll good! He's very active in the comments and has a YouTube channel showing some processes. Hope you enjoy!
DeleteBy the way, do you source your barley from work? Would the best way to source unmalted barley be from a maltings do you think?
Cheers!
Yes, we often get sent an excess of barley for malting projects and it seems to me it's better to put it to good use than send it to landfill. I don't know where you could buy barley. A friendly maltings might help, and grain merchants like Robin Appel are worth a try.
DeleteThanks, much appreciated!
DeleteReally interesting. Have you tried germination on the floor? The raking and turning of malt on the floor is supposed to prevent tangling of rootlets. I'm sure it does, but it probably does a bit more than that. It also confuses the geotropism of the grain as it grows and slows down the growth of rootlets.
ReplyDeleteThis is the only go I've had a home malting. I'm really enjoying the beer so I might give it another go later in the year. Having malt covering the kitchen floor is not ideal though, so I'll stick with drum malting!
ReplyDeleteDon't bother with a debearder for a batch that small. You can use a paint mixer on an electric drill. Just put the grain in a bucket and mix it with the paint mixer, it will remove all the rootlets and turn them into a fine dust. To remove the dust from the malt sift it through a screen of some sort.
ReplyDelete